S***w this! That’s it, I’m done with screen printing!!
Okay, so I hear this line a lot from a lot of beginners. Heck, I’ve even said this myself more times than I can count.
So for the last few prints, your screens came out terrible.
It was underexposed, you saw emulsion melting away during washout. It was over-exposed and can barely see through it.
Fine lines in your design washed away, just like your motivation.
I get it. You’re pissed off because you followed the instructions exactly on the manufacturer’s label, but didn’t even come close to what you were hoping for.
Now you’re sitting here feeling frustrated for having wasted all that emulsion, time, and energy.
Fortunately, I have the solution for you. And once you’re done reading this, I guarantee you’ll be exposing professional grade screens in the next 20 minutes. Read on.
Emulsion and Screen exposure time
As it stands, there are simply too many emulsion types in the market today – some are diazo, some are single pot emulsions and the newer ones are hybrids.
Each one has its own unique characteristics and will work well with different substrates. And each manufacturer wil require different exposure times.
But here’s what I found after testing 6 different emulsion types from different companies.
Read more: 17 Screen Printing Emulsion FAQs to Help You Avoid Stress!
Forget what the manufacturer has recommended/put on the label – often times, the conditions and overall setup are not like yours. It can’t be.
So whether you’re in the humid subtropics of Florida or up in the dry and nippy Midwest, the only way to expose perfect screens is if you use an exposure calculator.
DIY your own exposure calculator
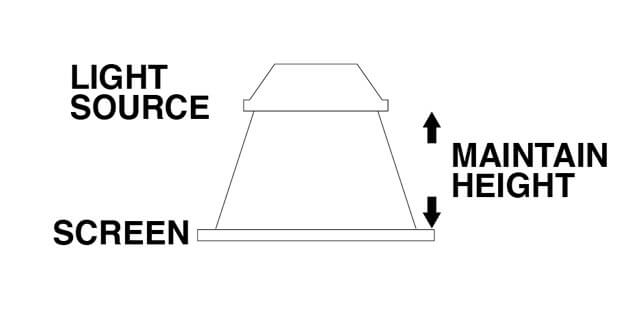
Before I begin, please make sure that your exposure setup follows this simple structure. For example, I use a diy screen exposure unit that consists of a flood lamp placed 2.5 feet away from my screen.
Keep in mind, in whatever setup you have, make sure to maintain the distance between the light source and screen at all times.
Any inconsistency and your calculations won’t be accurate. Here’s an overview of what I mean.
Let’s begin!
Step #1: Preparation
To create your own exposure calculator, you’ll need a relatively thick, heavy card stock (something dark so no light shall pass) similar to this.
For the example today, let’s use an A4 sized black card board.
Step #2: Measure and Cut
Cut the board into 6 even sized strips. (You can mark each strip with numbers if that’s not too much work.)
Once you have the strips made and numbered. Move to the next step.
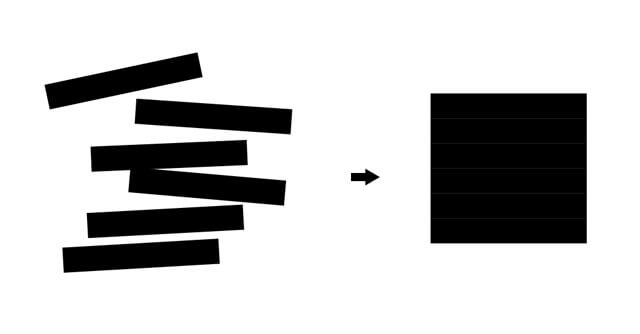
Step #3: Line ’em up
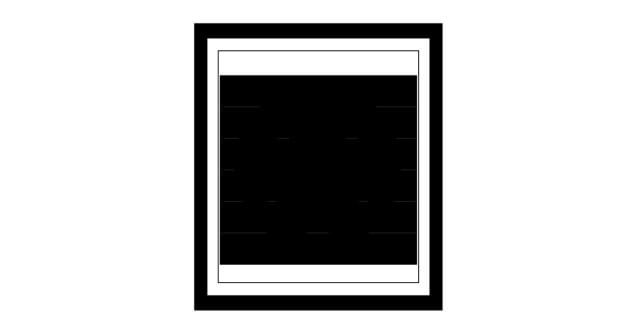
Arrange each strip over your screen. Make sure you don’t leave any gaps in between each strip. This is to prevent any light from passing through. See the diagram below.
Step #4: Get organized
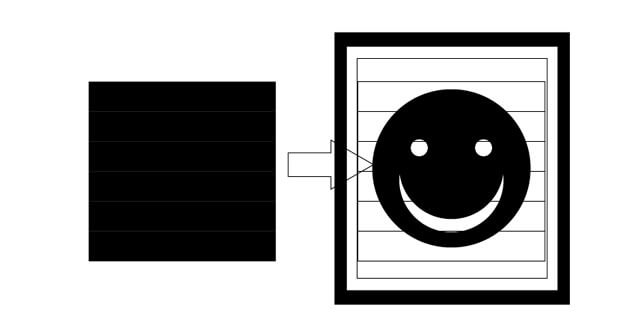
Place the strips over your image.
It’s okay to if the strips don’t cover the entire screen, but it MUST cover the entire design.
Tip: You can use some see-through tape to lightly hold down each strip in place.
Finally, you should have something like the picture below.
Step #5: Timing things perfectly
This is the where the fun begins.
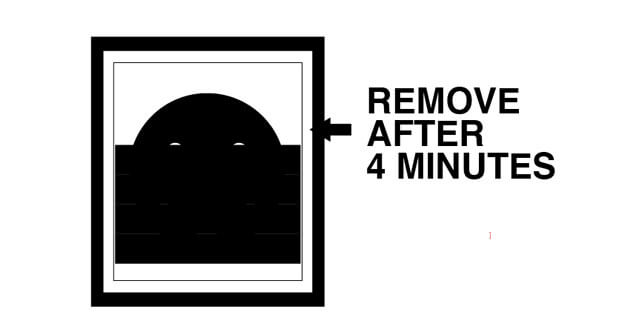
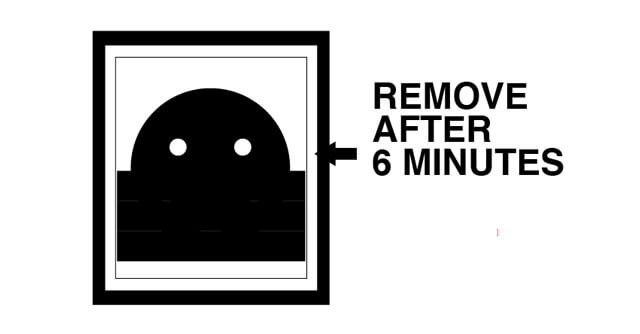
First get a stopwatch. You will start removing each strip in intervals of 2 minutes. Start from the top of the screen.
Now let’s start exposing. Turn on your light source and set your timer.
If you’re confused, do exactly as the diagrams below:
You get the point.
Once you’re done removing all the strips, move to
Step #6: Washing out the screen
What you will start to notice is the time/interval in which your image is exposing correctly.
If you did not get the perfect exposure, at least you’ll have a clearer idea as to which interval window you need to adjust to.
Design: If you’re just starting out with the exposure calculator, don’t get too ambitious with a design that has a ton of details.
I like to start with a solid image with large areas with maybe a few thin lines, but the ideal image would be big block letters or huge logos.
It may take you a couple more screens and calculations, but this is how you pinpoint the optimum exposure time.
Timing: For this example I used 2 minute intervals. But this is for the emulsion which I’m using. By all means, I suggest doing a couple of experiments with different timings – 1 minute, 30 seconds – to zero in on your ideal time.
Alright that’s my pro tip for today. If you have any questions, please write them out in the comments below, I’d love to know what you found.
Read More: A-Z T-shirt Screen Printing Tutorial at Home in 7 Easy Steps


That introduction just described me perfectly. Now about to try screen 4 but this time with your method! Let’s hope this one works. Cheers.
A lot of frustration in this game here. Don’t give up! Glad I could help
Damn brother, wish I’d have found this site when I was just starting out… ( 6 months ago) it’s like a Game Genie for screen printing. Glad you made this for beginners like myself and folks who are 2 days in and throwing crap against the wall out of much high levels of frustration this skill can infuse in a person.