Okay, let’s settle this, there are way too many debates and discussions over this one topic.
For beginners, it’s always a wonder if the correct method is to push or pull the squeegee.
Now the reason why this is such a hot topic is because, there isn’t a right answer.
There just isn’t, let’s all get over that.
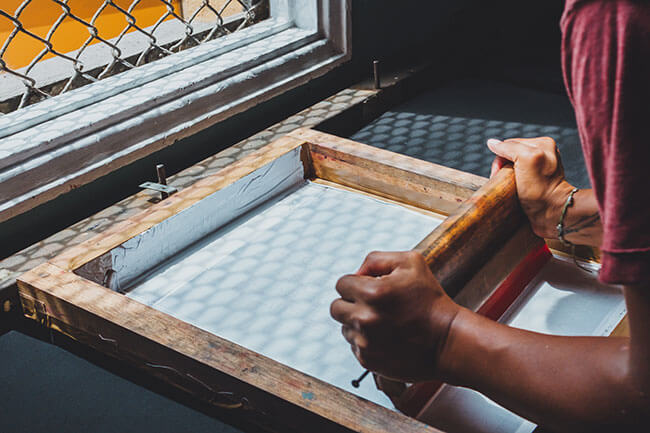
Squeegee pull or squeegee push?
Now, the consensus from most experienced printers is to do whatever feels right, and they are right to say so because it all comes down to personal preference.
From whom I’ve met and what I’ve seen, the majority of printers say pulling the squeegee feels right.
But to me, that could very well be because there are more righties than lefties.
And it doesn’t matter. I’ve been to conferences and seen leftie’s pull as well.
To find out which method you are most comfortable with, take the calculated approach to see what feels right.
Experiment with all of them at least once:
- When ink is on the bottom of the screen, Push to print, pull to flood.
- When ink is on the bottom of the screen, Push to print, no flooding, push again with remaining ink.
- When ink is on the top of the screen, Pull to print, push to flood.
- When ink is on the top of the screen, Pull to print, no flooding, pull again with remaining ink.
Which felt better to you?
The ideal squeegee method
For me, it was natural to go with number 3 (pulling to print, and pushing to flood), as it felt in sync with my print station setup and how I was orchestrating my work flow.
I also felt that pulling was much better for my wrist and it gave me more control compared to pushing where I was using my body weight and pushing away from my shoulders. This can strain and hurt more in the long run.
But then again, this could be different for you.
Is there a specific squeegee method for ink type?
Again, I would say do what feels right for you.
But for the sake of experimentation, I found that my #3 method works better with plastisol inks vs water-based.
When it comes to water-based inks, I have to be extra careful when flooding as to not leave the ink sitting in the mesh for too long.
Longer than a couple of minutes and the ink starts to dry up, causing a pain in my a**.

Printing On-Contact
Please remember that the above techniques I mentioned is only to be used when printing with an ‘off contact’ between frame and t-shirt.
You do not need to flood the screen if you are printing on contact. So in this case, I would do both – pull to print, and push to print.
This seems to be the consensus while printing on contact as it seems to be the economy of movement.
So what now?
Experiment. And by all means, exhaust all your options. I would recommend printing one simple image (lots of big areas, little details) and one complex image.
While doing this, keep in mind of the things below, it will help narrow down your preferred method.
This is not a complete list, but it’ll give you an idea of what to look out for.
- both pulling and pushing methods
- off and on contact prints
- the angle of your squeegee
- the pressure of your print
- the ink type
After doing this, you should at least have an idea of what works for you.
Just remember that everyone has a different style. Forget whatever you’re reading (including this article) and just get down to it. Case closed.
If you want to start over and get a full tutorial of the entire screen printing process, makes sure to check it out over here for free!
