One of the biggest questions you’ll have before breaking into the t-shirt industry is deciding if you’ll be using vectors over bitmap graphics.
Does your screen printer only accept AI or SVG files? Perhaps you have an idea on paper that you want to digitize – which software should you go with? Did your image turn out blurry after being printed?
Today, you’ll learn the distinctions between vectors and bitmaps, their individual characteristics, what you should take into consideration and why you’ll come out ahead if you work with vector graphics.
Key differences between vectors and bitmap
Let’s start with the “map of bits” or rather bitmap.
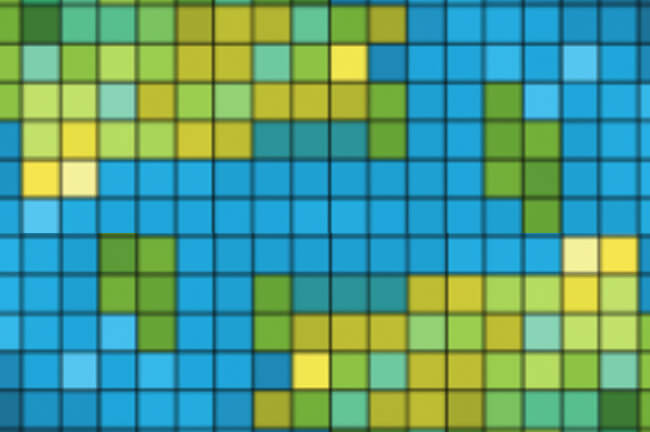
Bitmap images are pixel-based images, which means that the entire image is made out of set of pixels or tiny squares within a grid (map)
Each individual square contains a specific color information.
You may have also heard the term “raster”
Technically, bitmaps and raster images aren’t the same thing. However, they are closely related and often used interchangeably because they share the same concept.
Raster images are made up of a grid of pixels commonly referred to as a bitmap.
Bitmap or raster images are commonly seen as photographs. Like a picture of the ocean, beach or forest.
These types of images can be manipulated by adding special effects such as blur, drop shadow, feather and glow to your images.

However, when you expand that image, you are expanding those pixel blocks.
That is why the image becomes blurry if you make it too large. And the larger the image, the more disk space the image file will take up.
File formats are the easiest way to distinguish a raster file. They will be saved in one of the following formats:
- .gif (Graphic Interchange Format)
- .jpg (Joint Photographic Experts Group)
- .png (Portable Network Graphics)
- .psd (Photoshop Document)
- .tiff (Tag Image File Format)
Windows exclusively uses BMPs that are large, full files that can’t be compressed.
GIFs and JPEGs are designed for web transfer; and EXIF files come from digital cameras and carry photo-specific information and camera settings.
What can be confusing is that since there is a common file format (.bmp) on the PC that refers to a raster file, BUT in a program such as Photoshop, it refers to a format that is strictly black and white, no shades of grey (or color for that matter).
Other formats, like GIF, JPEG, and PNG use compression algorithms that make the files smaller and easier to upload and download via the internet, making them extra convenient when working with online projects or designs.
Alright, let’s move on to vectors.
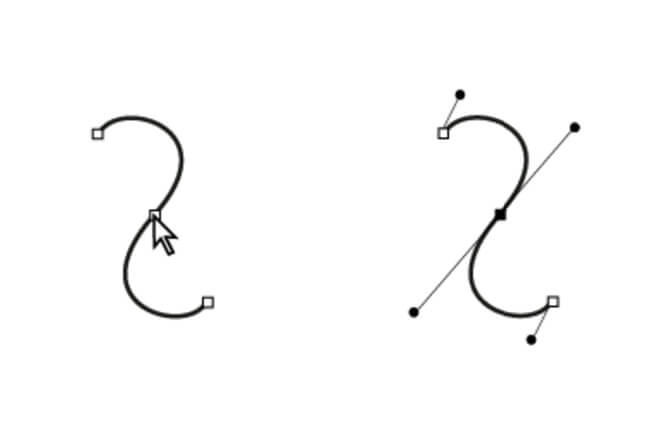
Vector images use mathematical algorithms and several tiny lines in order to store the information and display the information to the viewer.
In other words, vectors are created with points, each defined by an x and y coordinate, and paths that connect the points to create lines and shapes.
Vectors are good when they’re being printed, this means that the machine can print the curves razor-sharp and in a defined manner.
Vector images can easily be altered because mathematical curves are easy to scale. Vector graphics also preserve the resolution images so that it is not lost when it is time for the image to be printed on the T-shirt.
Common vector file formats are EPS, PDF, and SVG.
3 Reasons to start using vectors over bitmap
1. “Resolution” does not exists
While screen printing companies can work with 300 dpi raster images, many prefer vectors over bitmap.
Because vector designs do not depend on pixels but instead on coordinates, you can adjust and resize any line, curve or shape to work with most print methods and still see their exact form and features.
This makes vectors highly scalable and “resolution independent” unlike raster images where you’ll run into things like pixelation, jagged edges or blurring of an image.
2. Small File Size
Instead of millions of pixels from a raster image, vector files contain significantly less information in them because it only contains a bunch of coordinates.
This is advantageous for many reasons.
Say you have a complex design with many shapes, text, colors and gradients, your file to the screen printer will still be extremely lightweight.
3. Easy to work with
Similar to the way you draw on paper, vector editing software allows you to easily create shapes and illustrations easily. You can also duplicate and edit quickly and effortlessly, making it ideal for the screen printing workflow.
So how do you convert bitmap images to vector?
So I’ve managed to convince you to start using vectors – great! But where do you go from here?
What if you’ve already started with a bitmap program like Adobe Photoshop?
Well depending on your goals, there are several ways to achieve the same results.
If you’ve got one or two images that needs to be vectorized, getting a company that can produce the files ready to be screen printed may be the cheapest and fastest option.
Vectorizing services are abundant on Fiverr with typical charges between $15-25 per image.
You could also go for a paid service like Vector Magic to keep costs low.
Alternatively, if you see a future in screen printing, you may want to start learning how to vectorize images yourself.
Sure, commercial software like Adobe Illustrator or CorelDRAW can be pricey at first, but learning the tools of the trade is a skillset you can’t put a dollar amount to.
Plus there’s a ton of video tutorials on Youtube that will easily turn you into a pro.
Now, to successfully convert a bitmap image to vector graphics, you’ll need to use the almighty trace tool.
Graphics programs like Adobe Illustrator, CorelDRAW or Inkscape come with a trace function that will quickly vectorize your image according to certain settings.

Personally I’ve been quite happy with Adobe Illustrator’s Image Trace option and have gotten pretty used to it over 10 years.
However, as powerful as these programs are, the most important aspect of this is actually the image itself.
Feed the program a low-quality image and you’ll get some funky results. Similarly, a design with a ton of details will come out looking like a blob of mess in the end.
My suggestion is to give these software a go with different images and play with the controls a little. These days, there are a ton of free trials so trying before you buy is something you should consider.
Read more: Epic List of T-shirt Design Software You Should Explore
Also, if you’re picking up a software .e.g. CorelDraw, make sure there’s an active community – Facebook groups, Reddit communities, Slack channels, etc. that you can get help from when you need it.
